Registering a Sequencer
Overview
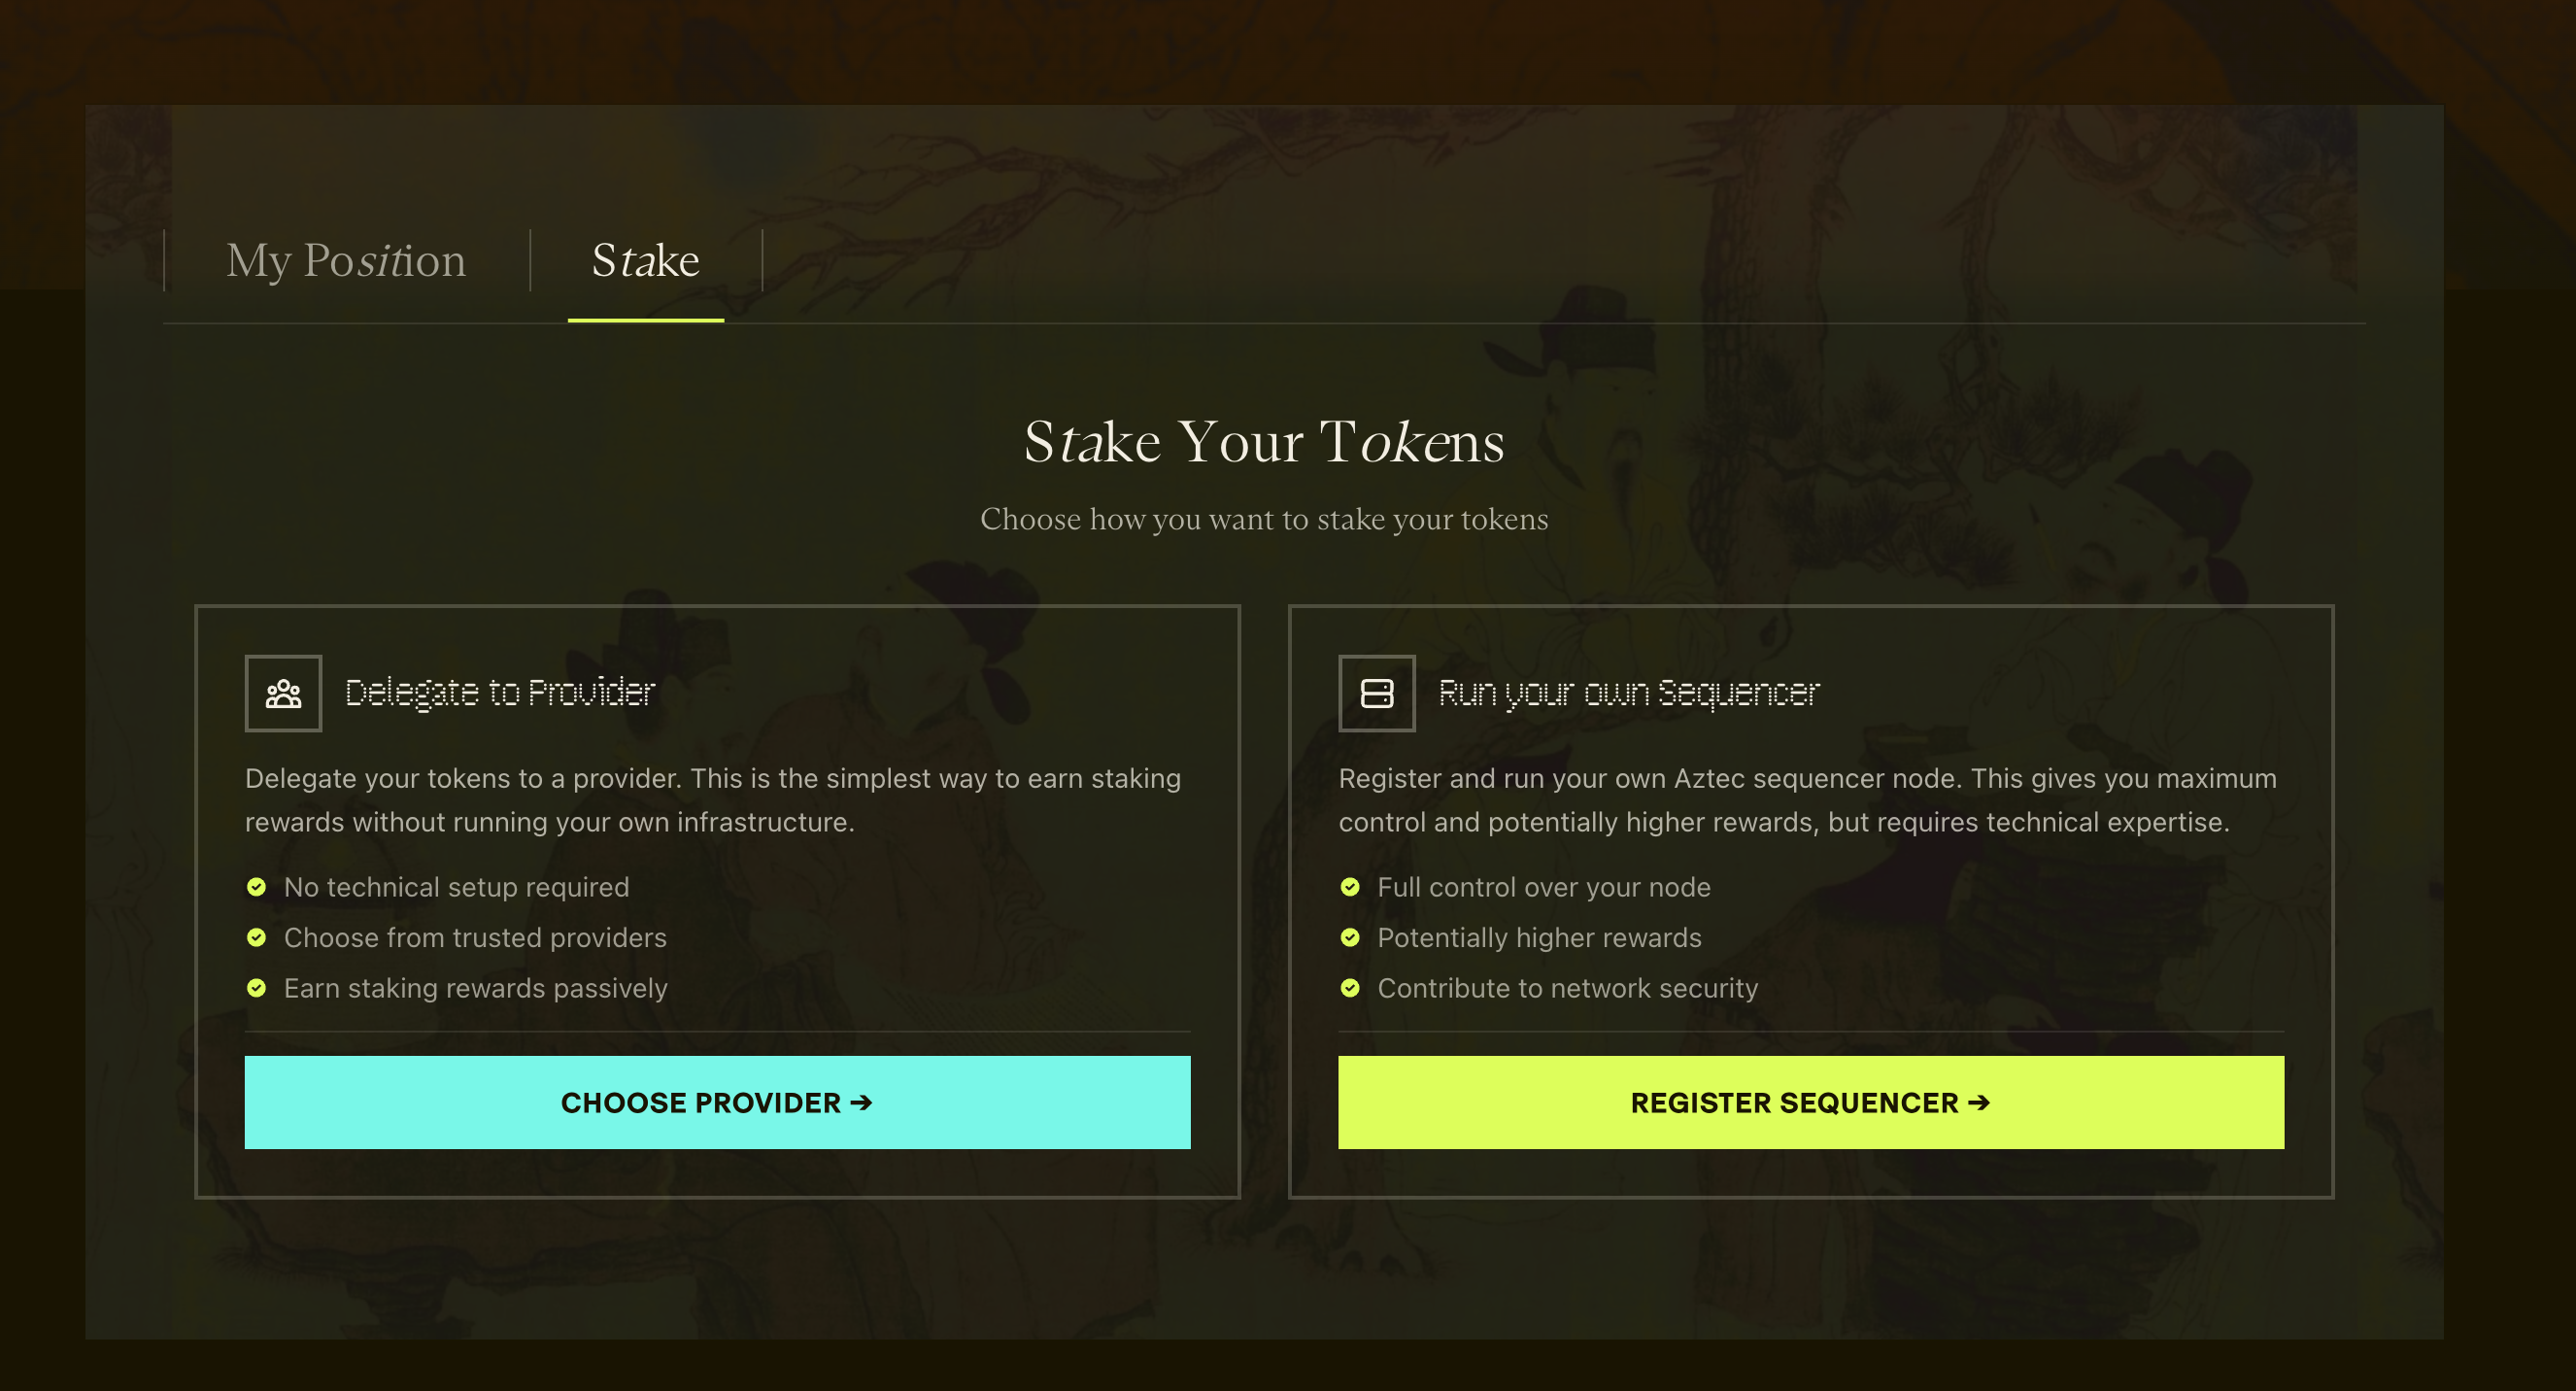
This guide covers registering your sequencer on the Aztec network through the staking dashboard for self-staking. This is one of two ways to participate as a sequencer:
- Self-staking (this guide): You provide your own stake via the staking dashboard
- Delegated staking: You receive stake from delegators (see Running with Delegated Stake)
Before proceeding, ensure you have completed the Sequencer Setup Guide and your node is running.
Prerequisites
- Completed sequencer node setup with keystore generated
- Access to your public keystore file (
keyN_staker_output.json) - Sufficient ATP/ATV tokens for staking
- Wallet with ETH for gas fees
- Web browser for accessing the staking dashboard
Understanding Your Keystore
When you generated your sequencer keys, two files were automatically created:
- Private keystore (
~/.aztec/keystore/keyN.json) - Contains private keys, used by your sequencer node. Keep this secure and never share it. - Public keystore (
~/.aztec/keystore/keyN_staker_output.json) - Contains only public information, used for registration via the staking dashboard.
Public Keystore Structure
The public keystore contains the following information needed for registration:
[
  {
    "attester": "0xYOUR_ATTESTER_ADDRESS",
    "publicKeyG1": {
      "x": "FIELD_ELEMENT_AS_DECIMAL_STRING",
      "y": "FIELD_ELEMENT_AS_DECIMAL_STRING"
    },
    "publicKeyG2": {
      "x0": "FIELD_ELEMENT_AS_DECIMAL_STRING",
      "x1": "FIELD_ELEMENT_AS_DECIMAL_STRING",
      "y0": "FIELD_ELEMENT_AS_DECIMAL_STRING",
      "y1": "FIELD_ELEMENT_AS_DECIMAL_STRING"
    },
    "proofOfPossession": {
      "x": "FIELD_ELEMENT_AS_DECIMAL_STRING",
      "y": "FIELD_ELEMENT_AS_DECIMAL_STRING"
    }
  }
]
Fields explained:
attester: Your Ethereum attester address (sequencer identifier)publicKeyG1: BLS public key on the G1 curve (x, y coordinates)publicKeyG2: BLS public key on the G2 curve (x0, x1, y0, y1 coordinates)proofOfPossession: Cryptographic proof to prevent rogue key attacks
The public keystore contains no private keys and is safe to share with the staking dashboard or other parties.
Preparing Your Keystore File
Single Sequencer
If you're registering one sequencer, simply use the keyN_staker_output.json file that was generated when you created your keys.
Multiple Sequencers
If you're registering multiple sequencers in a single transaction, combine the individual keystore files into a single JSON array. Each object in the array represents one sequencer.
Example for two sequencers:
[
  {
    "attester": "0xATTESTER_ADDRESS_1",
    "publicKeyG1": {
      "x": "0x...",
      "y": "0x..."
    },
    "publicKeyG2": {
      "x0": "0x...",
      "x1": "0x...",
      "y0": "0x...",
      "y1": "0x..."
    },
    "proofOfPossession": {
      "x": "0x...",
      "y": "0x..."
    }
  },
  {
    "attester": "0xATTESTER_ADDRESS_2",
    "publicKeyG1": {
      "x": "0x...",
      "y": "0x..."
    },
    "publicKeyG2": {
      "x0": "0x...",
      "x1": "0x...",
      "y0": "0x...",
      "y1": "0x..."
    },
    "proofOfPossession": {
      "x": "0x...",
      "y": "0x..."
    }
  }
]
Simply copy the contents of each keyN_staker_output.json file and combine them into a single array.
Registration Steps
Follow these steps to register your sequencer(s) through the staking dashboard:
-
Navigate to the staking dashboard at https://stake.aztec.network
-
Connect your wallet with the account that holds your ATP/ATV tokens
-
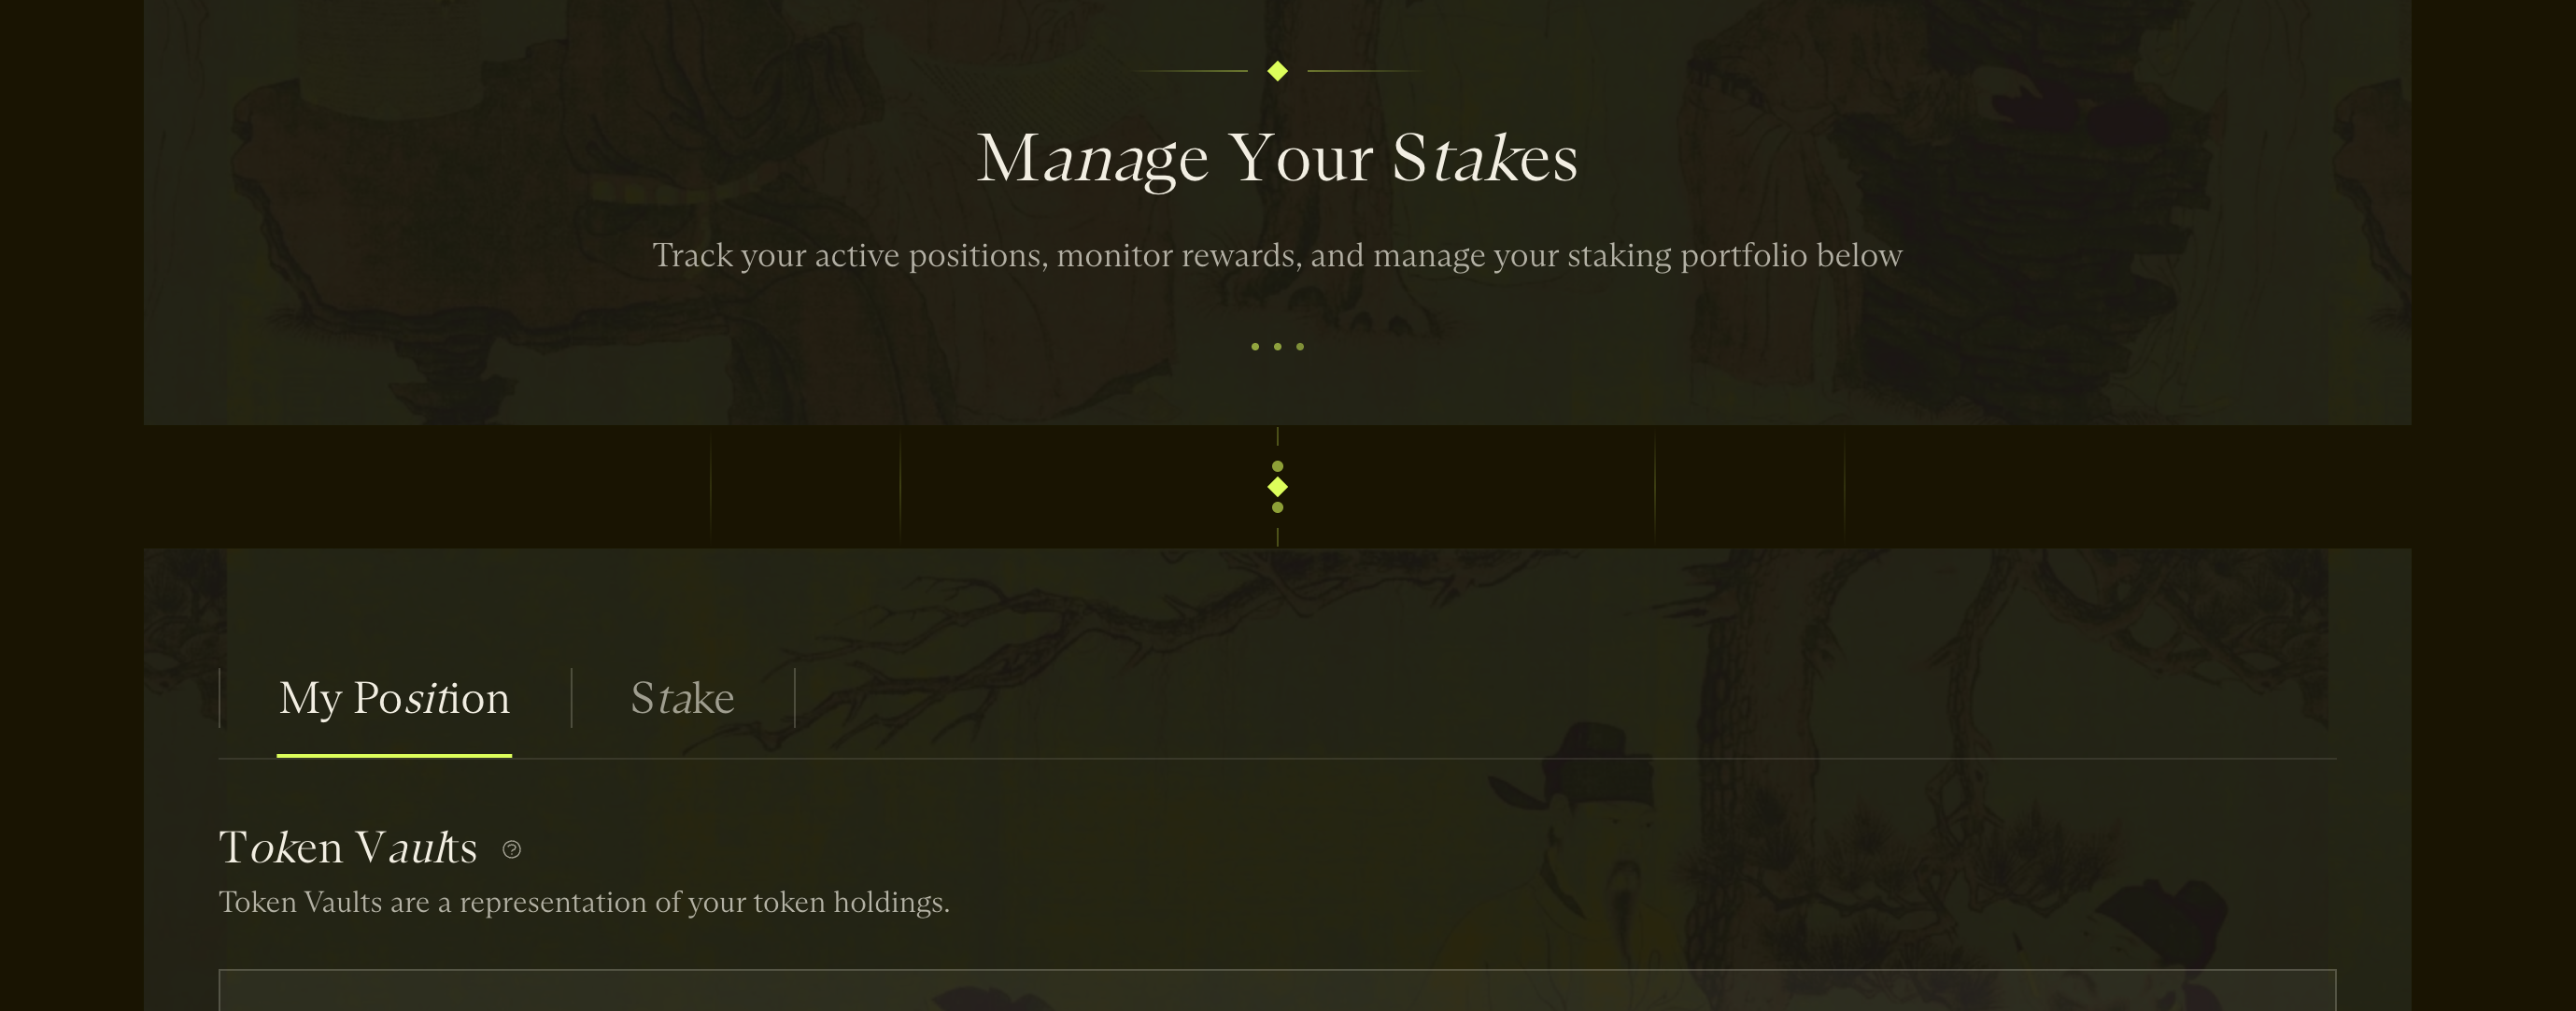
Click "Stake"
-
Select "Run your own Sequencer"
-
Click through "Start Registration" after reviewing the requirements
-
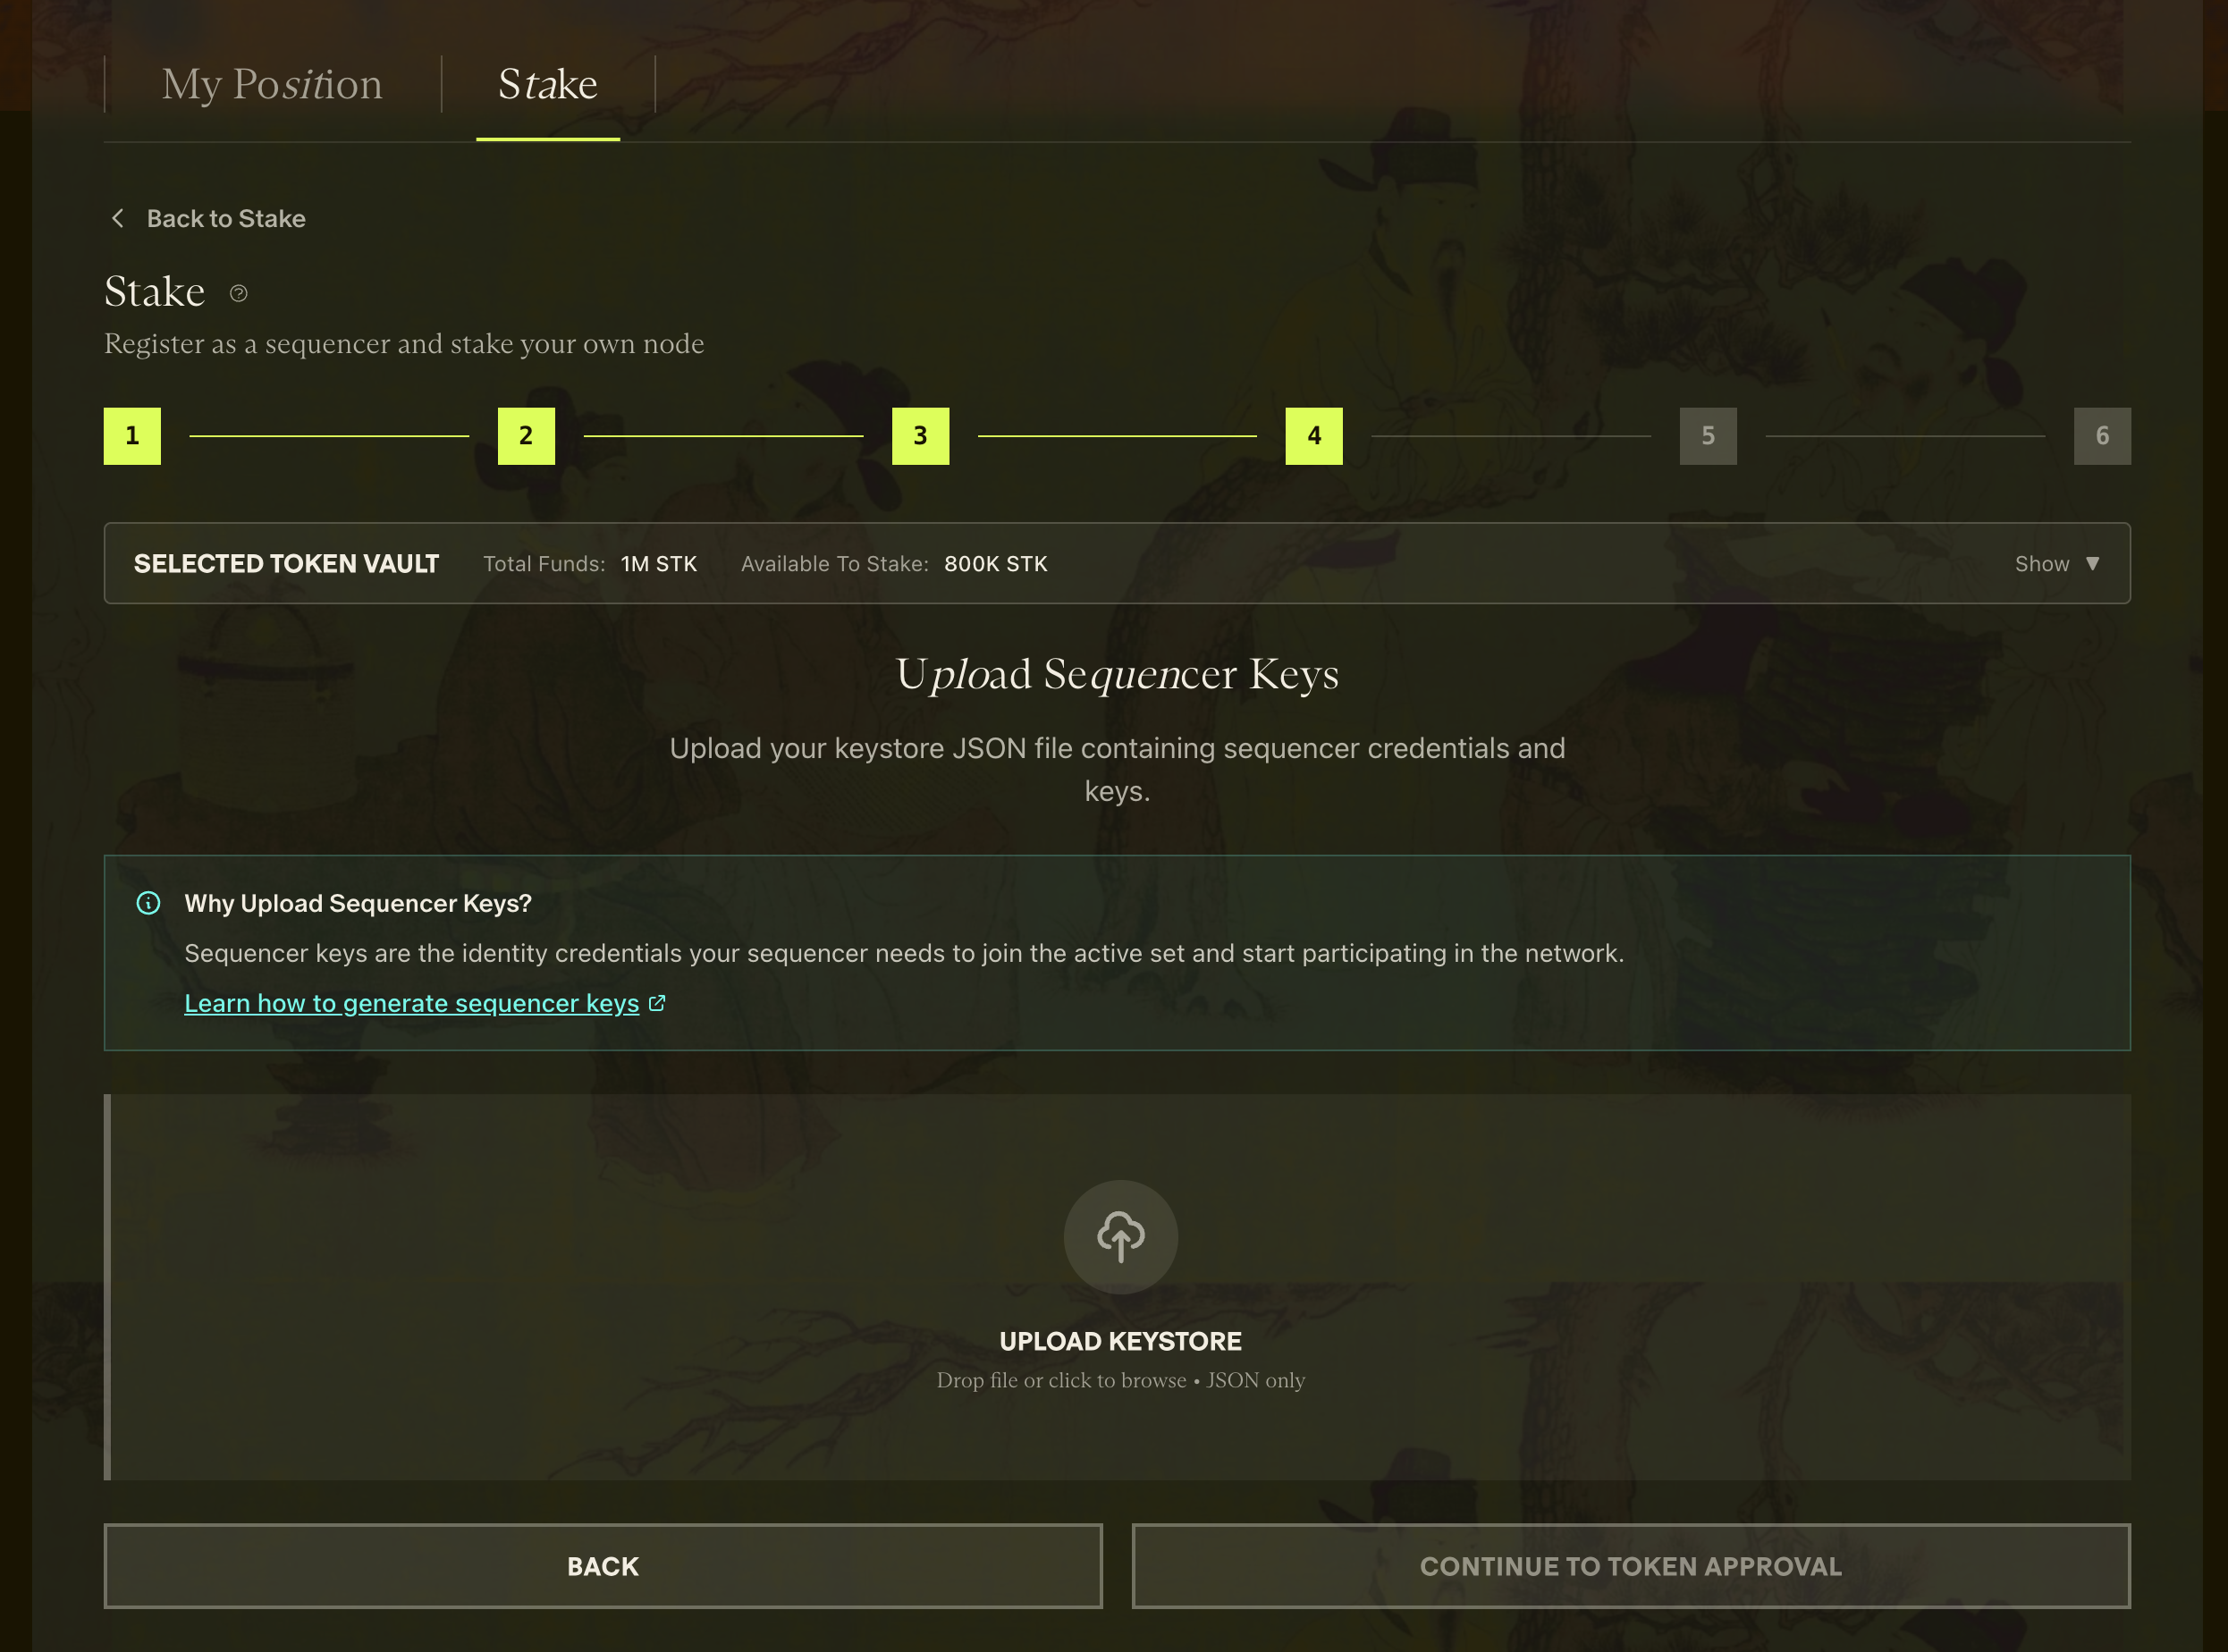
Select the ATP/ATV tokens you want to stake
-
Upload your keystore JSON file (either single or combined multi-sequencer file)
-
Confirm your attester/sequencer addresses

-
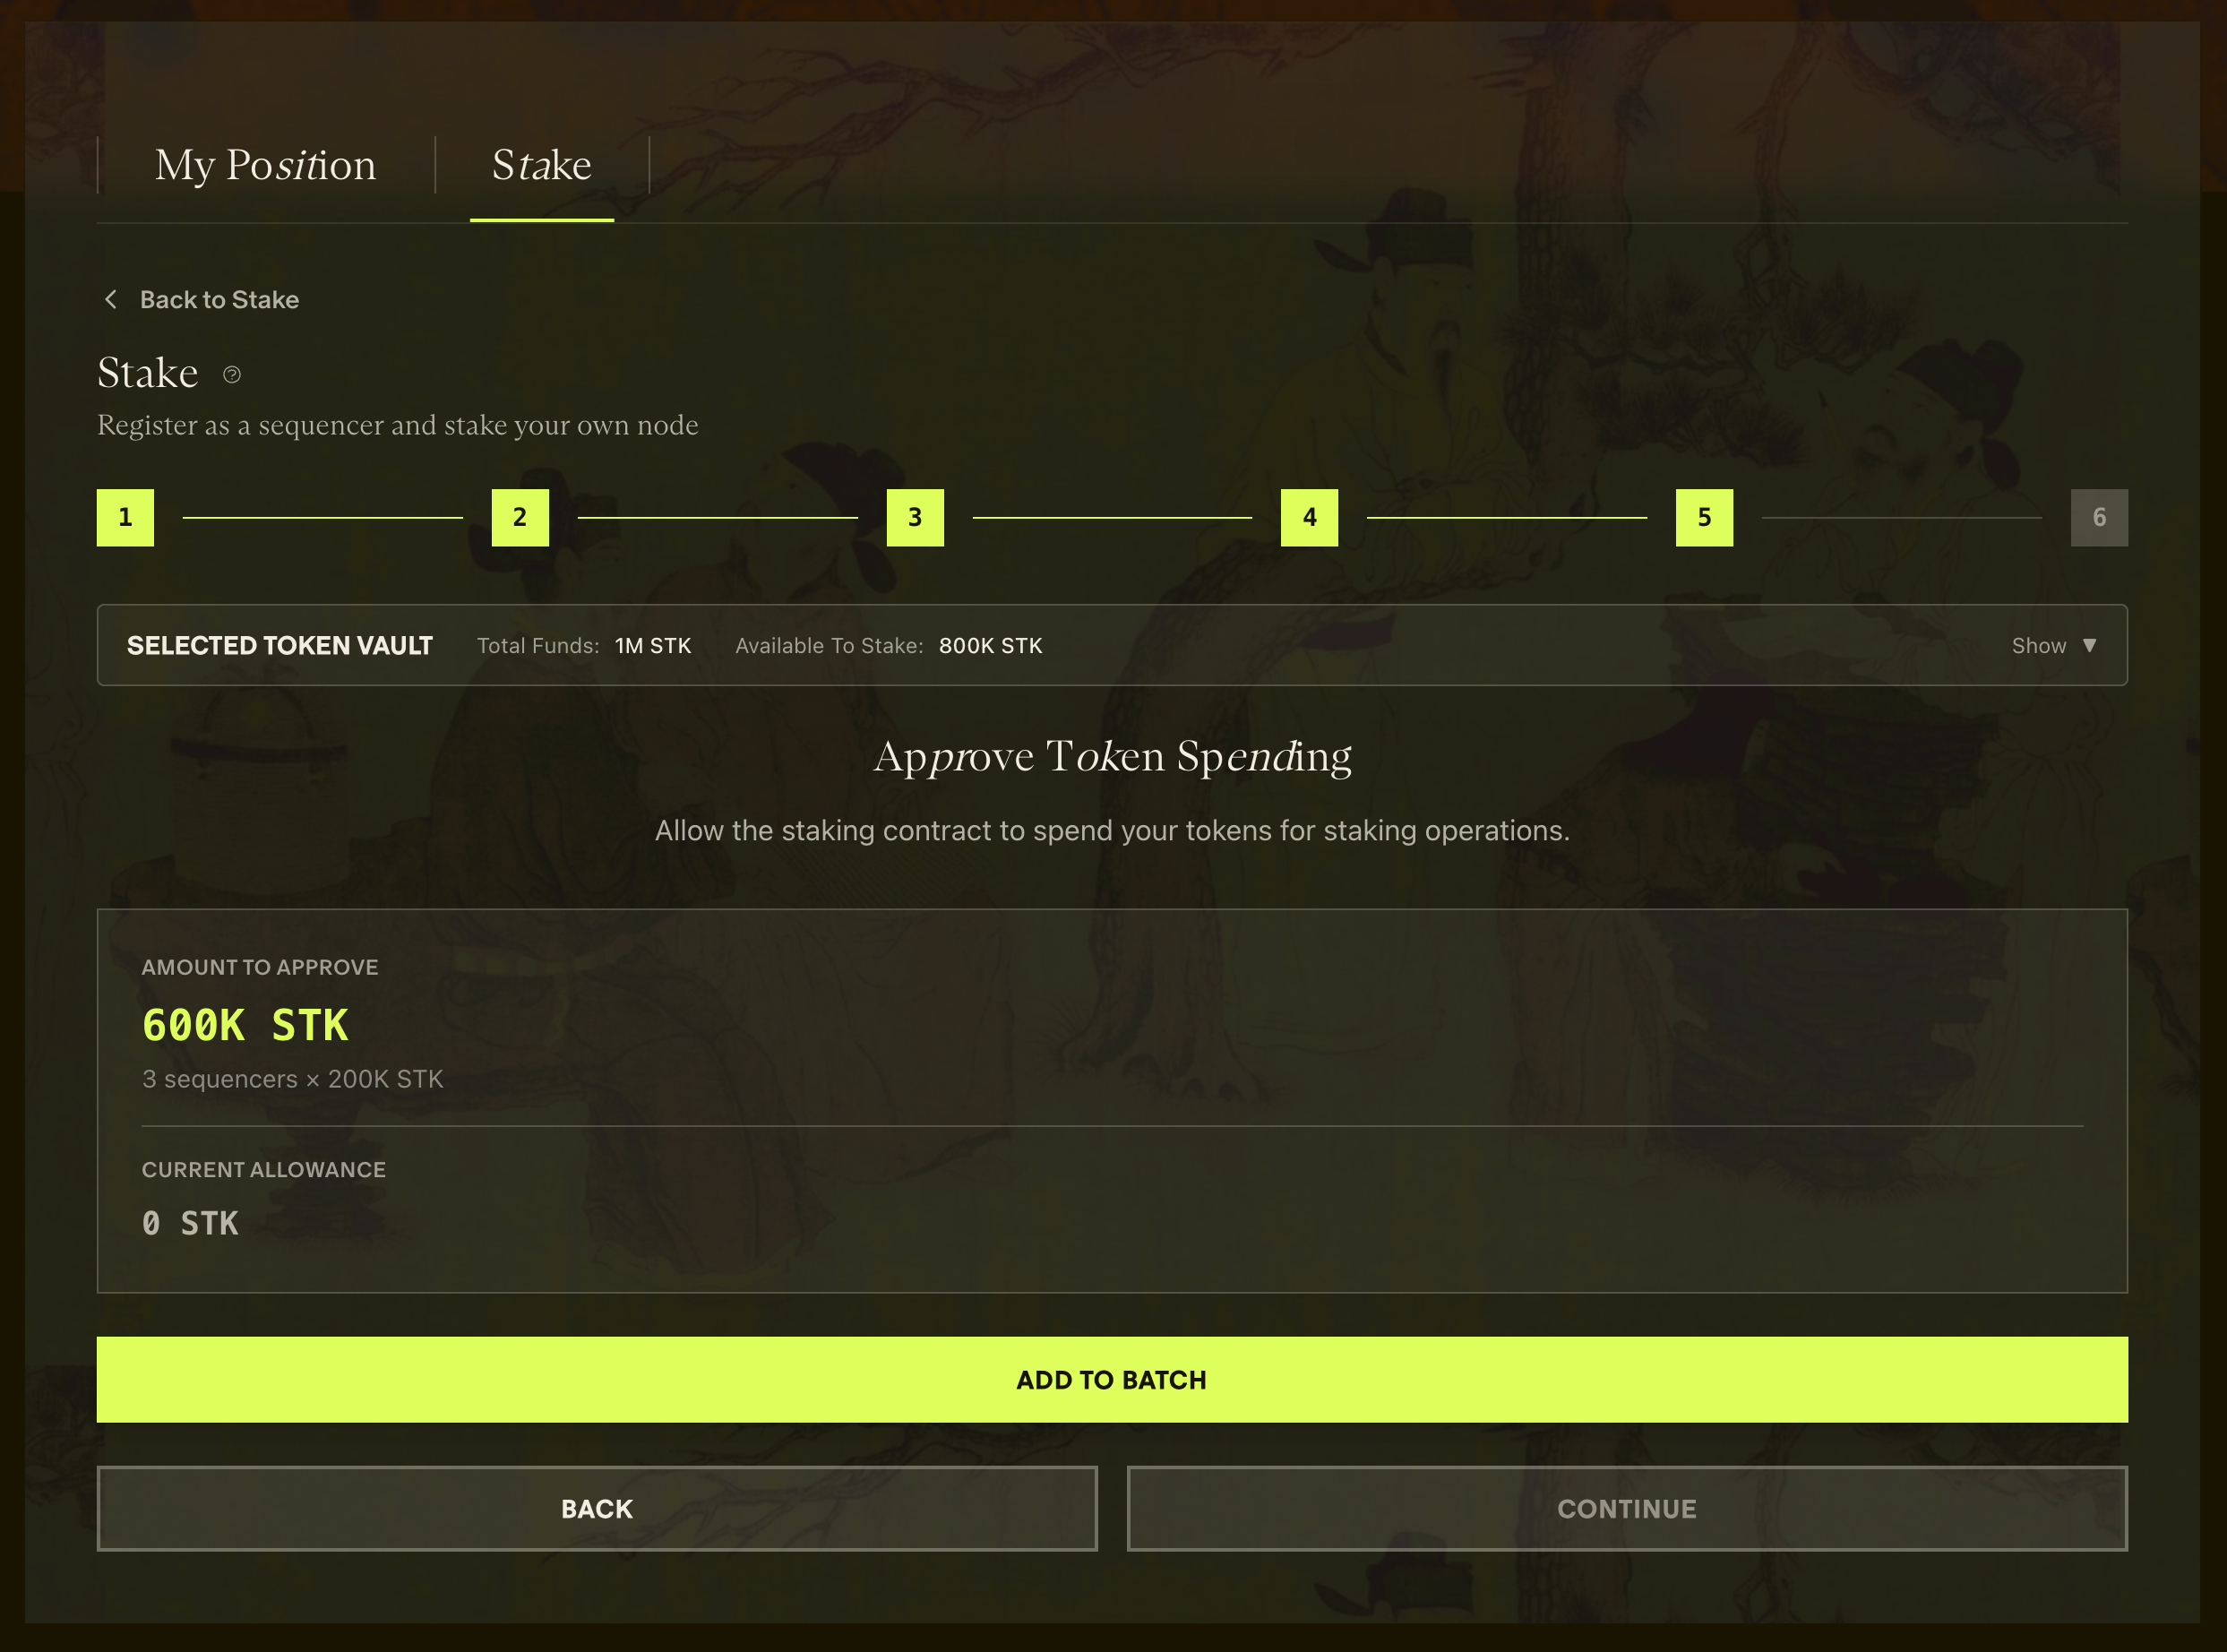
Approve token spend in your wallet
-
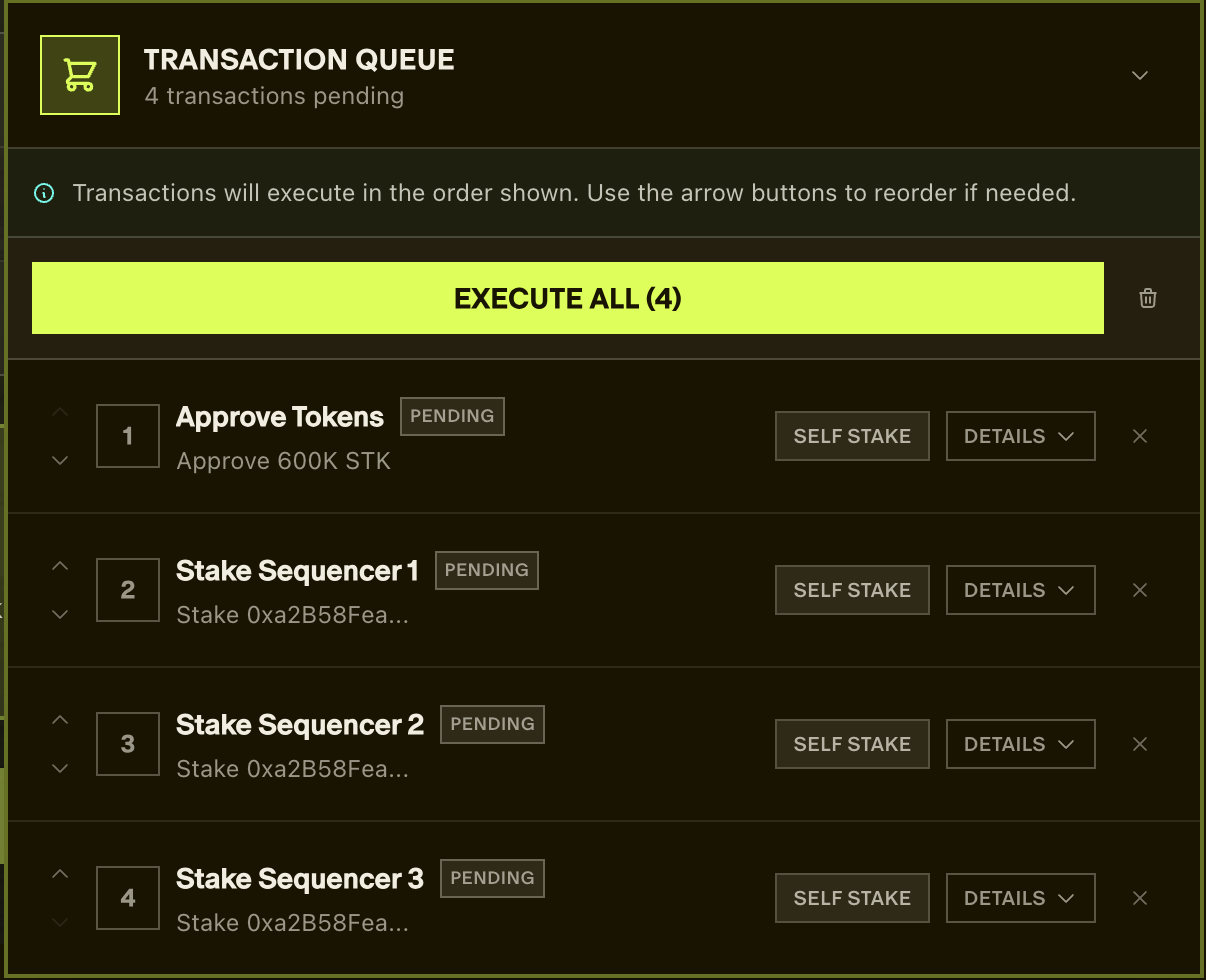
Add staking for all sequencers to the queue

-
Execute transactions in the dashboard
-
Confirm each transaction in your wallet
-
Click "Complete" when all transactions are confirmed
-
Verification: Your sequencers have entered the queue. You can verify this at https://dashtec.xyz/queue
Verification
After registration, verify your sequencer is properly registered:
Via Staking Dashboard
Use the staking dashboard to:
- View your sequencer's registration status
- Monitor your stake amount
- Track sequencer performance metrics
Via Blockchain Explorer
You can verify your sequencers are in the queue at https://dashtec.xyz/queue
Via Smart Contract
You can also query the status directly using the Rollup contract. See Monitoring Sequencer Status for detailed instructions.
Next Steps
After registering your sequencer:
- Monitor performance: Track your sequencer's attestation rate and block proposals via the staking dashboard
- Maintain uptime: Keep your sequencer node running with high availability
- Monitor your stake: Ensure your stake remains above the ejection threshold
- Stay informed: Join the Aztec Discord for operator support and network updates
Alternative: Running with Delegated Stake
If you prefer to run a sequencer backed by delegated stake instead of self-staking, see the Running with Delegated Stake guide.